- Cannoli dessert comes from Italian cuisine.
- You can create vegan, gluten-free cannoli at your home following the recipe.
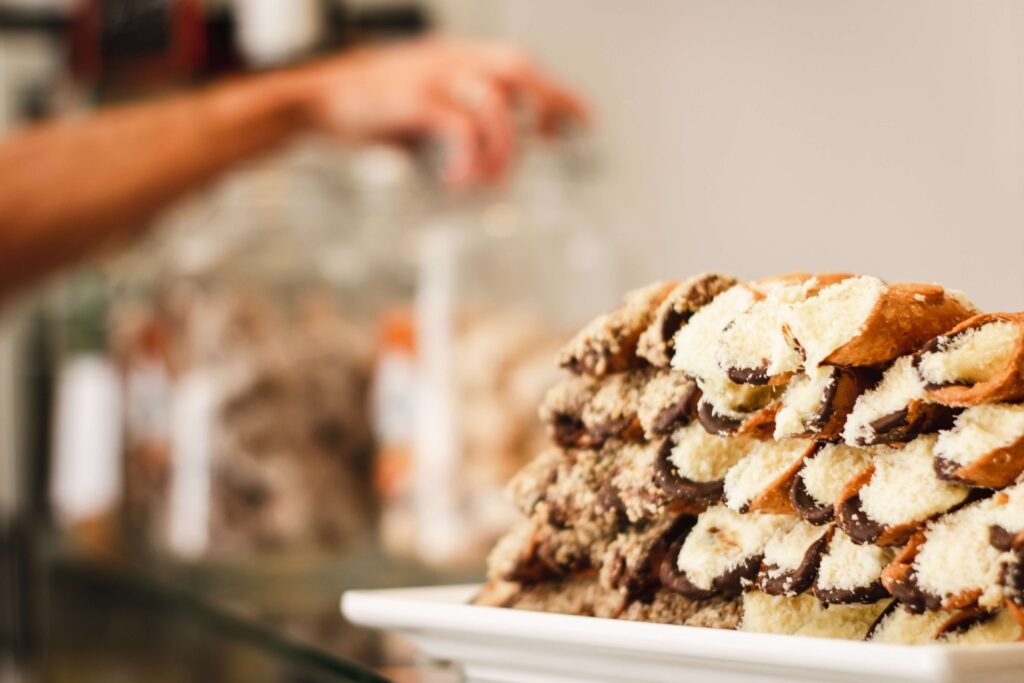
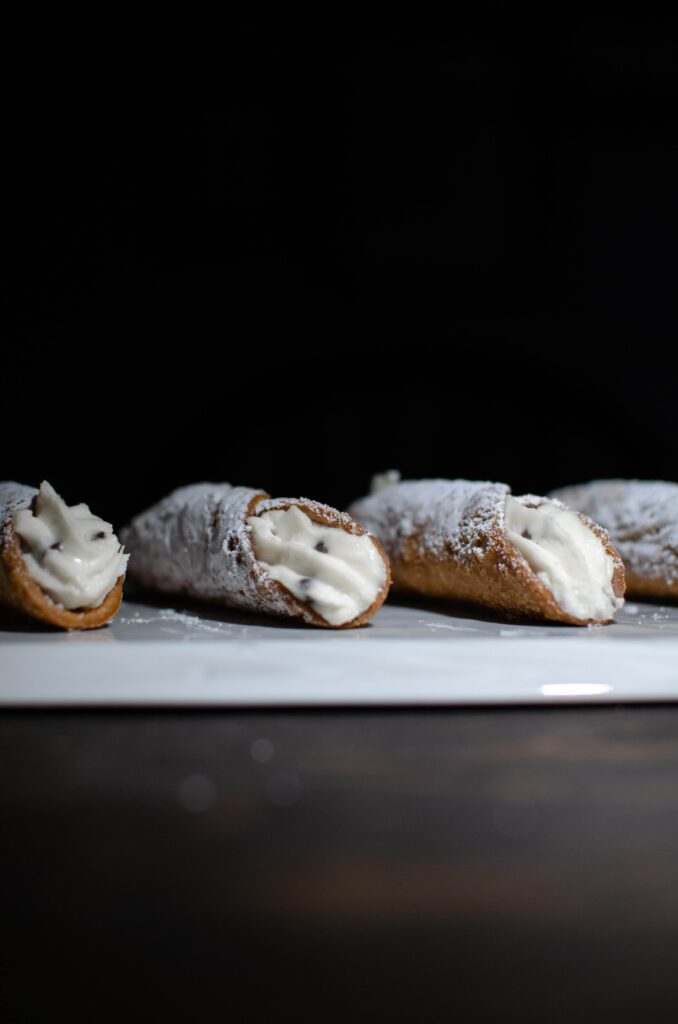
- Typically, the dessert is served by powdering sugar over it.
- Gluten-free cannoli recipe
Coming from Italian cuisine, cannoli delivers a blend of smooth and crisp texture. The outer layer is thin, flaky, and crispy, while the inner filling has a smooth texture, makes it a treat of heaven.
The outer layer gets its texture from a dough made of flour, sugar, cocoa, butter, and coffee, while the inner filling is best made of ricotta, especially the sheep variant. And we want to know is there Gluten free Cannoli Recipe?
While looking at the core ingredients, you may find that this desert cannot be consumed by people having gluten intolerance or other diseases related to gluten. To your surprise, even if you are suffering from such a disease, you can still enjoy this Italian dessert.
Stay tuned to get the full recipes for gluten-free cannoli. We have even mentioned a recipe for vegan cannoli, which are free from dairy products.
Non-Vegan Cannoli recipe
Ingredients
For making shells:
- 2 tbsp brown sugar
- 4 cups or 550g of gluten-free flour
- ¼ teaspoon kosher salt
- 3 tablespoon butter (softened)
- 2 large egg yolks
- ½ teaspoon nutmeg
- 2 teaspoon cinnamon
- 1¼ cups or 300ml of sweet Marsala wine
- gluten free canola oil spray (while air frying)
- shortening/lard, vegetable oil, canola oil (while deep frying)
For making the filling:
- 3 cups of homemade ricotta cheese
- ½ tablespoon cinnamon
- 1 cup or 200g of granulated sugar1 tablespoon vanilla extract
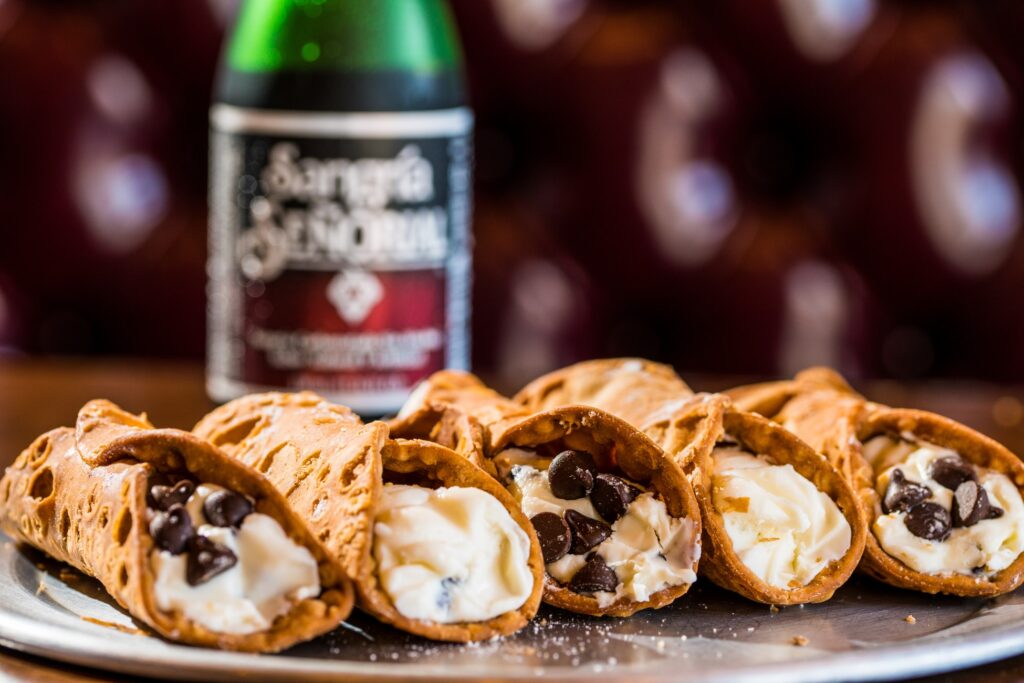
- chopped pistachios or maraschino cherries, mini chocolate chips, etc.
For garnish:
- Powdered sugar to dust on top
- Additional chocolate chips, pistachios, and cherries
Instructions
For making shells:
- Blend salt, sugar, flour, cinnamon, as well as nutmeg in a mixer bowl of a stand mixer with its paddle attachment.
- Now add egg yolks and softened butter to have the crumbly texture.
- Then, add the Marsala wine slowly while blending at low speed, until the dough binds and the bowl’s sides are fully clean.
- Adjust the Marsala wine less or more, depending on the area’s humidity level. Note that the dough must be super stiff.
- Bind the dough into a ball’s shape and wrap it into the plastic wrap. Later, let this dough sit for about 30 mins.
For making Cannolis:
- Go on dividing your dough into half and then roll that 1 half to at least as thin as paper or utilize a pasta roller to make it thinner further. Use a 4- or 6-inches round cutter to make circles from that dough.
- Now Put the cannoli tube on 1 circle and spray with cooking spray. After that, wrap the circles to form cannoli loosely. Seal them using leftover egg whites, be it using fingertips or a brush. Finally, press the seal to secure it well.
Steps For Air-frying:
- Start by preheating the air fryer till it reaches 400°F.
- After that, spray cooking spray on the air fryer basket
- Put all the cannoli shells gently onto the basket.
- Further, spray the cannoli shells tops.
- Now fry them for at least 6 mins, or until you know it has cooked well. Steps For Deep-frying
- Firstly, heat the oil in a large pot at medium heat till it reaches 350°F.
- Now, reduce the temperature so that you can cook about 4 cannolis in oil with the help of tongs until they get golden for 3-4 mins.
- After that, remove the lid and put the cannoli shells on a paper towel so that they get drained easily.
- At last, allow them to cool until you fry all batches.
For making ricotta cream:
- You can either use homemade ricotta or even purchase it from the market; ensure that they are well-drained, for which you can use a cheesecloth-lined sieve on a bowl to keep it in the refrigerator for the entire night.
- Now put the drained ricotta in the stand mixer’s bowl and whip it using its whisk attachment till it gets loosened up. Once you see it becoming creamy, start adding sugar slowly, vanilla as well, like cinnamon. Boost its speed to medium-high so that it attains its smooth, creamy texture. It must start looking like buttercream frosting.
- After that, take a pastry bag with a plain tip and fill it with the ricotta cream so that you can pipe it into the cannoli shells. After that, dip the ends in your favorite toppings, and finally, dust the cannolis with powdered sugar before serving.
Additional Notes:
- To serve all cannolis fresh, add their filling only when you want to eat them. It will also prevent them from getting soggy. Keep the cannoli cream stored in the refrigerator to keep its texture intact. You may store all cannoli shells at room temperature for 1 week.
- Storing the dough is a useful option, too, since you won’t be using it together. Just wrap the dough in plastic wrap to store it in the refrigerator; it is usable for 4 days; you can even freeze it to keep it stored for 3 months.
Vegan Recipe for Gluten-Free Cannoli
To make vegan and gluten-free cannoli, you need to cut down on the dairy filling. It means that your super crispy, baked shells will have a tasty dairy-free cream.
You can then finish the cannolis with chocolate and dust it with powdered dry fruit. It is a delectable recipe for all vegan cannoli lovers who don’t want to miss out on the fun during holidays!
Ingredients
For making Gluten-free Shells:
- 1/2 cup of white rice flour
- 1/3 cup of brown rice flour
- 1/3 cup of cassava flour
- 2 tablespoon of regular or maple sugar
- 2 tablespoon of grounded flax seeds
- 1/2 teaspoon of vanilla extract
- 1/6 teaspoon sea salt1/4 teaspoon cinnamon
- 1 teaspoon apple cider vinegar
- 1/2 teaspoon baking soda
- 2 tablespoon coconut milk powder
- 2 tablespoon plant-based Miyoko’s butter
- 3 tablespoon oil
- 2 medium-sized egg
- 2 tablespoon of almond milk
For making Vegan Filling:
- 3/4 cup of almond milk
- 3/4 cup of coconut milk
- Salt pinch
- 1/2 cup of regular or maple sugar
- 4 tablespoon plant-based Miyoko’s butter
- 4-5 egg yolks
- 3 tablespoon arrowroot starch
Instructions
For making the Shells Dough:
- Take a food processor and blend all dry ingredients. Then, put eggs, apple cider vinegar, milk and cold butter. Keep it mixing till the mixture binds well. In case you feel the need, put in more liquid batter. After that, take out the mixture and place it on a clean surface to knead it until it becomes smooth.
- As flax seeds soak in more liquid, the dough may look wet initially; however, with the time of at least 10 mins, it will completely change its texture and become tender yet firm. Remember: you keep the dough fully wrapped so that air doesn’t come in its contact; otherwise, it will become crumbly.
- Preheat your oven at about 410 F.
- Cut your dough in half and wrap one portion while flattening out the other using your palm. Now, keep the surface greased with oil to roll the dough thinly with dimensions of about 4mm thickness.
- After that, utilize a cookie cutter with a diameter of 3.5 inches and take out circles. Don’t waste the scraps; you can re-roll them and use them again.
- In case dough starts sticking to your table, take a knife and detach gently. Now, roll all the circles into cannoli shells and make sure you roll them until they overlap. After that, press that point to seal it.
- Use the egg yolks to help them get a golden color after baking them. Follow this step for all cannoli tubes.
- Put all cannoli shells onto the cookie sheet and let them bake for 15 mins at 400F.
- Take them out from the oven and keep them for resting for about 1 min. Don’t worry if they release steam. You can flip them using metal tongs and slide all the shells.
- Keep on baking all the shells until the final batch. Let them cool down before you start filling them in.
For making Vegan Filling:
- Here are the detailed steps to follow while making the dairy-free filling for your crispy outer shells.
- Take out your sauce and add plant milk to it. Place the pan on the stove while setting the heat to medium setting. Heat the milk and simmer the heat so that it doesn’t boil.
- Now take egg yolks, maple syrup, salt, and arrowroot starch in the bowl and whisk them. You can even use a mixer to mix the mixture and make a smooth paste. Add vanilla extract for some flavor.
- Now remove the mils from the heat and pour half of the mixture into the egg mix. Keep the stream of the milk thin and whisk the mixture in the bowl constantly so that no lumps are formed. Now add the egg and milk mixture back to the remaining milk in the pan.
- Place the pan over the stove and set the heat setting to medium. Make sure that you mix the mixture vigorously. Keep on whisking until the consistency of the mixture becomes a little thick. This will take around two to three minutes.
- Keep whisking the mixture till you see some bubbles. When you see the first bubble lower the heat and keep whisking for one more minute; make sure that you don’t overcook the mixture.
- Now remove the pan from the heat source and add butter to the mixture. Mix them so that the butter thoroughly mixes in the mixture
- Now add the whole mixture into a clean bowl and let it cool down for some time. After this, cover it with clean plastic wrap. Make sure that the wrap covers the whole surface. Otherwise, the mixture will develop skin which will ruin the smooth texture.
- Now keep the mixture in the refrigerator to cool it down. Now you have to fill the cannoli outer shell with the filling. Let us see the steps in detail. Assembling process
- When you are ready to serve the dessert, get hold of a pastry bag with a broad tip. Fill it with cream and pipe the cream into both ends of your shell.
- You can sprinkle some mini-chocolate or other elements to garnish both ends of the shell. If you need a gluten-free variant, make sure the garnishing items are gluten-free.
- At last, powder the whole shell with some powdered sugar. You can even use powder of frozen, dried fruit.
Now let us see how to eat the cannoli and for how long the dessert remains fresh.
Additional Notes
- The cannoli should be consumed as soon as the outer shells are filled with the inner filling to get the real taste. The whole desert remains in good shape 24 hours after filling, but the filling will make the outer shell soggy. Then you will not be able to relish that flaky texture.
- You can store the filling for five days in the refrigerator but never freeze the filling as the process of thawing will ruin everything. Also, consume the end product within 24 hours of filling to get the dessert’s actual taste.
Final Lines on Gluten Free Cannoli Recipe
Typically people consume the dessert in the morning with some milk and coffee at room temperature.
The filling can be customized according to your taste.
You can add other elements according to your choice and experiment with the filling.
More Posts For You: